Html picture slideshow plays an important role for a website and blog. These are very helpful in making the website stylish and attractive.
We can categorize the pictures, tags, categories, articles etc. of our website.
So today in this article you remained with us, in which you will know how you can use HTML picture slideshow in your website or blog.
In this article, you will find the complete code of the slider, which you can use it easily.
So let's start without wasting time.
New And Stylish HTML Picture Slideshow
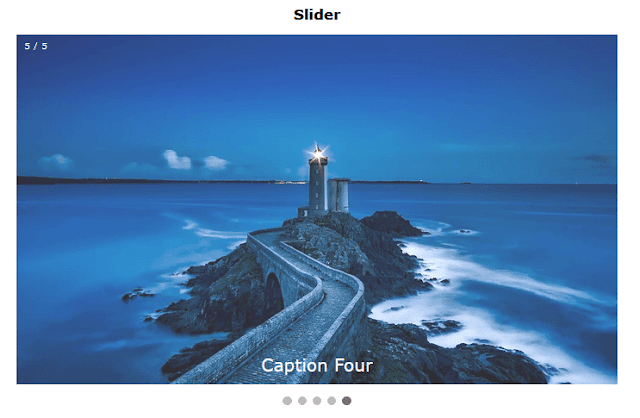
In this article, you will get to see the below Html picture slideshow, in which the complete Html code will also be found.
So know about this slideshow.
Feature of this HTML picture slideshow
- Fully responcive
- Fast loaded
- Multiple image slide
- Caption text
- Available slide number
- Automatic slide
- Slide dot
- Easy to use
Source Code
<h2><center>Slider</center></h2><div class="Slider-container"><div class="mySlides fade"><div class="numbertext">1 / 5</div><img src="Enter Your Image 1 Address" style="width:100%" /><div class="text">Caption Text</div></div><div class="mySlides fade"><div class="numbertext">2 / 5</div><img src="Enter Your Image 2 Address" style="width:100%" /><div class="text">Caption Two</div></div><div class="mySlides fade"><div class="numbertext">3 / 5</div><img src="Enter Your Image 3 Address" style="width:100%" /><div class="text">Caption Three</div></div><div class="mySlides fade"><div class="numbertext">4 / 5</div><img src="Enter Your Image 4 Address"style="width:100%" /><div class="text">Caption Four</div></div><div class="mySlides fade"><div class="numbertext">5 / 5</div><img src="Enter Your Image 5 Address" style="width:100%" /><div class="text">Caption Four</div></div></div><br /><div style="text-align:center"><span class="ponter"></span><span class="ponter"></span><span class="ponter"></span><span class="ponter"></span><span class="ponter"></span></div>
CSS Source Code
<style>* {box-sizing: border-box;}body {font-family: Verdana, sans-serif;}.mySlides {display: none;}img {vertical-align: middle;}.Slider-container {max-width: 1000px;position: relative;margin: auto;}.text {color: #fff;;font-size: 29px;padding: 8px 12px;position: absolute;bottom: 8px;width: 100%;text-align: center;}.numbertext {color: #fff;font-size: 15px;padding: 8px 12px;position: absolute;top: 0;}.ponter {height: 15px;width: 15px;margin: 0 2px;background-color: #bbb;border-radius: 50%;display: inline-block;transition: background-color 0.6s ease;}.active {background-color: #717171;}.fade {-webkit-animation-name: fade;-webkit-animation-duration: 1.5s;animation-name: fade;animation-duration: 1.5s;}@-webkit-keyframes fade {from {opacity: .4}to {opacity: 1}}@keyframes fade {from {opacity: .4}to {opacity: 1}}@media only screen and (max-width: 300px) {.text {font-size: 11px}}</style>
Js Source Code
<script>var slideIndex = 0;showSlides();function showSlides() {var i;var slides = document.getElementsByClassName("mySlides");var ponters = document.getElementsByClassName("ponter");for (i = 0; i < slides.length; i++) {slides[i].style.display = "none";}slideIndex++;if (slideIndex > slides.length) {slideIndex = 1}for (i = 0; i < ponters.length; i++)
{ponters[i].className = ponters[i].className.replace(" active", "");}slides[slideIndex-1].style.display = "block";ponters[slideIndex-1].className += " active";setTimeout(showSlides, 3000); // Change image every 3 seconds}</script>


0 Comments